在 Ubuntu 18.04 PVE LXC 環境下安裝(社群版)
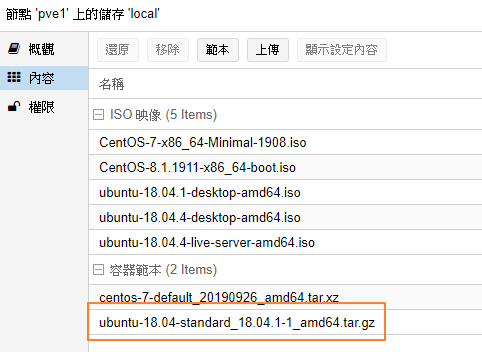
- 請先使用 PVE 下載「ubuntu-18.04-standard_18.04.1-1_amd64.tar.gz」的 LXC 範本。
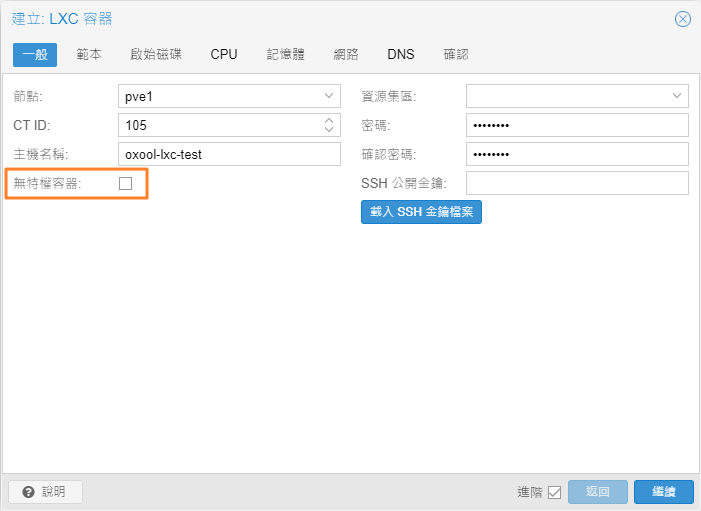
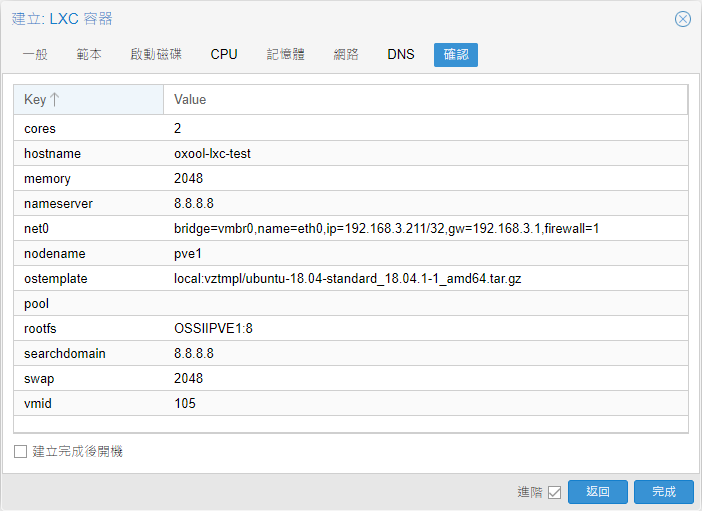
- 建立一個新的「CT」,參考內容如下圖,但目前建議將「無特權容器」選項取消勾選,否則部份功能會有問題。
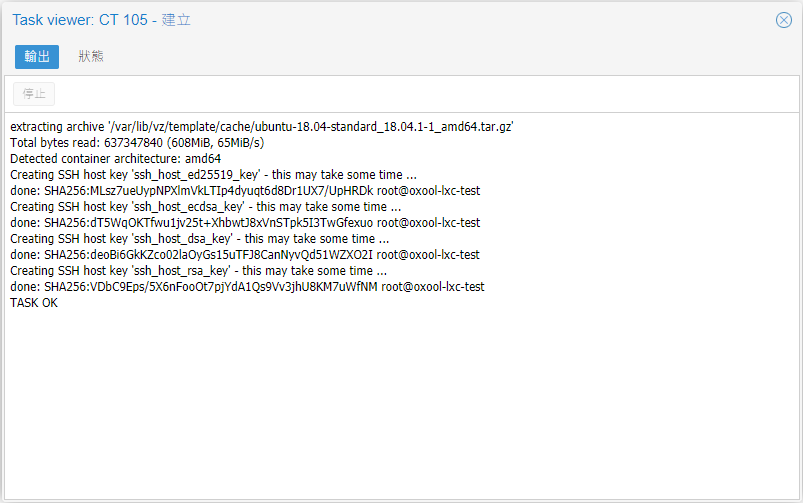
- 重新開機後(大約 20 秒就開完了),執行以下安裝指令:
apt update
apt upgrade -y
apt install vim openssh-server net-tools curl gnupg2 -y
# 如果有重新啟動服務的提示,請選擇 yes 即可

curl http://www.oxoffice.com.tw/apt/ubuntu/oxool-deb.key | apt-key add
echo "deb [arch=amd64] http://www.oxoffice.com.tw/apt/ubuntu/ oxool-v3 main" > ~/oxool.list
mv ~/oxool.list /etc/apt/sources.list.d/
apt update
apt install oxool oxoffice* -y- 設定開機要啟動的服務
systemctl enable oxool
reboot- 重新啟動主機,確認 OxOOL Community 正常啟動
netstat -tlnp結果如下:
Active Internet connections (only servers)
Proto Recv-Q Send-Q Local Address           Foreign Address         State       PID/Program name
tcp        0      0 127.0.0.1:9981          0.0.0.0:*               LISTEN      22383/oxool
tcp6       0      0 :::9980                 :::*                    LISTEN      22383/oxool
備註:執行完以上步驟後,可使用「更多」→「轉換成範本」來生成包含 OxOOL 社群版的 LXC 範本。