OxOffice Online main program installation instructions
This document will explain how to install OxOOL (OxOffice Online) from scratch.
- Installation guide for CentOS 7 (Community edition)
- Installation guide for Ubuntu 18.04 (Community edition)
- Installation guide for CentOS 7 in PVE LXC (Community edition)
- Installation guide for Ubuntu 18.04 in PVE LXC (Community edition)
- Installation guide for OxOffice Online v4 Community on CentOS 7
- Installation guide for OxOffice Online v4 Community on Rocky Linux 8
- Installation guide for OxOffice Online v4 Community on Ubuntu 20.04
- Installation guide for OxOffice Online v4 Community on CentOS 7 in PVE LXC
- Installation guide for OxOffice Online v4 Community on Rocky Linux 8 in PVE LXC
- Installation guide for OxOffice Online v4 Community on Ubuntu 20.04 in PVE LXC
- Installation guide for OxOffice Online v5 Community on Rocky Linux 8
- Installation guide for OxOffice Online v5 Community on Ubuntu 24.04
Installation guide for CentOS 7 (Community edition)
Please download and install the latest version of CentOS 7.
- Reboot and login as root. Then run the following commands to install needed programs and OxOOL Community edition
yum update -y
yum install vim net-tools unzip wget -y
cd /etc/yum.repos.d
wget http://www.oxoffice.com.tw/yum.repo/oxool-community.repo
yum update -y
yum groupinstall "OxOOL Community Group" -y- Turn off SELinux
vim /etc/selinux/config # You can choose any preferred text editor to edit this file
# Search "SELinux=enforcing" line, and change "enforcing" to "disabled" or "permissive" then save and quit- Configure firewalld and open the default 9980 port
firewall-cmd --zone=public --permanent --add-service=http
firewall-cmd --zone=public --permanent --add-port=9980/tcp- Start OxOOL Community edition service when booting
systemctl enable oxool
reboot- Reboot, login as root, and check if OxOOL Community edition starts normally
netstat -tlnpYou should get some results like this:
tcp      0    0    127.0.0.1:9981	  0.0.0.0:*	LISTEN   644/oxool
tcp6     0    0    :::9980		      :::*   	LISTEN   644/oxool
Congratulations and enjoy!
Installation guide for Ubuntu 18.04 (Community edition)
Please download and install the latest version of Ubuntu 18.04.
-
Reboot and login as a normal user. Then run the following commands to install needed programs and OxOOL Community edition
sudo apt update
sudo apt upgrade -y
sudo apt install vim openssh-server net-tools curl -y
# Chooese yes if you get any service restarting prompts

curl http://www.oxoffice.com.tw/apt/ubuntu/oxool-deb.key | sudo apt-key add
echo "deb [arch=amd64] http://www.oxoffice.com.tw/apt/ubuntu/ oxool-v3 main" > ~/oxool.list
sudo mv ~/oxool.list /etc/apt/sources.list.d/
sudo apt update
sudo apt install oxool oxoffice* -y- Start OxOOL Community edition service when booting
sudo systemctl enable oxool
sudo reboot- Reboot, login as a normal user, and check if OxOOL Community edition starts normally
sudo netstat -tlnpYou should get some results like this:
Active Internet connections (only servers)
Proto Recv-Q Send-Q Local Address           Foreign Address         State       PID/Program name
tcp        0      0 127.0.0.1:9981          0.0.0.0:*               LISTEN      22383/oxool
tcp6       0      0 :::9980                 :::*                    LISTEN      22383/oxool
Congratulations and enjoy!
Thanks to Franklin (from ezgo team) to provide installation guide for Ubuntu!
Installation guide for CentOS 7 in PVE LXC (Community edition)
- Please download "centos-7-default_20190926_amd64.tar.xz" LXC template in PVE

- Create a new CT using "Create CT" button (please uncheck "Unprivileged container" for now, or you may encounter some weird issues)


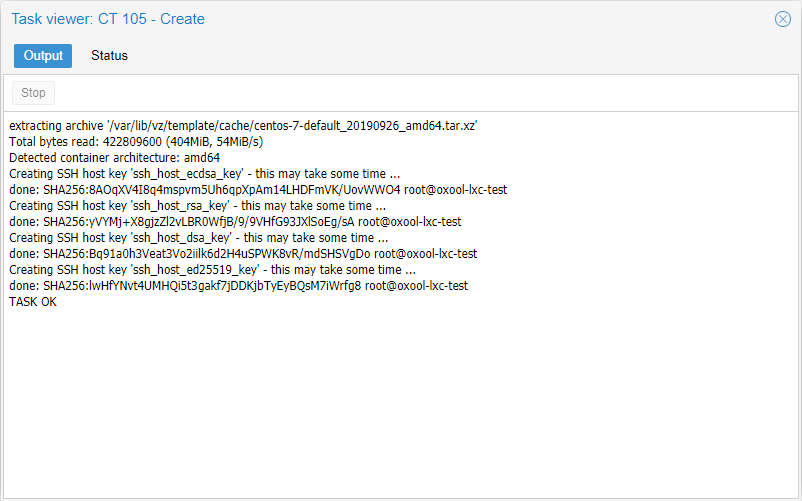
- Reboot and login as root. Then run the following commands to install needed programs and OxOOL Community edition
yum install vim openssh* net-tools unzip wget -y
cd /etc/yum.repos.d
wget --no-check-certificate http://www.oxoffice.com.tw/yum.repo/oxool-community.repo
yum update -y
yum groupinstall "OxOOL Community Group" -y- Start OxOOL Community edition service when booting
systemctl enable oxool
reboot- Reboot, login as root, and check if OxOOL Community edition starts normally
netstat -tlnpYou should get some results like this:
Active Internet connections (only servers)
Proto Recv-Q Send-Q Local Address           Foreign Address         State       PID/Program name
tcp        0      0 127.0.0.1:9981          0.0.0.0:*               LISTEN      1049/oxool
tcp6       0      0 :::9980                 :::*                    LISTEN      1049/oxool
Congratulations and enjoy!
P. S. When steps above are finished, you can use "More"→"Convert to template" to generate new LXC template that contains OxOOL Community edition.
Installation guide for Ubuntu 18.04 in PVE LXC (Community edition)
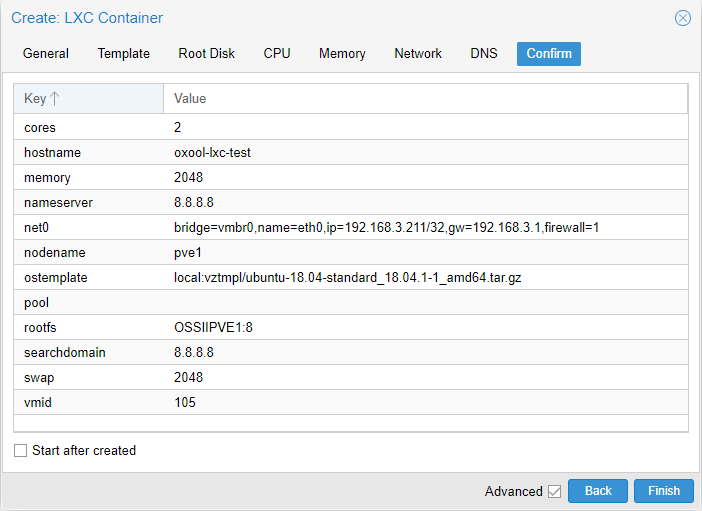
- Please download "ubuntu-18.04-standard_18.04.1-1_amd64.tar.gz" LXC template in PVE

- Create a new CT using "Create CT" button (please uncheck "Unprivileged container" for now, or you may encounter some weird issues)
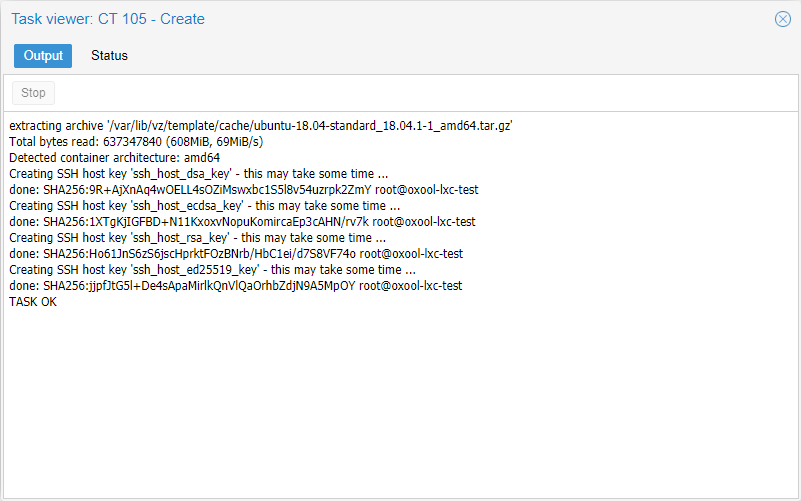
- Reboot and run the following commands to install needed programs and OxOOL Community edition
apt update
apt upgrade -y
apt install vim openssh-server net-tools curl gnupg2 -y
# Chooese yes if you get any service restarting prompts

curl http://www.oxoffice.com.tw/apt/ubuntu/oxool-deb.key | apt-key add
echo "deb [arch=amd64] http://www.oxoffice.com.tw/apt/ubuntu/ oxool-v3 main" > ~/oxool.list
mv ~/oxool.list /etc/apt/sources.list.d/
apt update
apt install oxool oxoffice* -y- Start OxOOL Community edition service when booting
systemctl enable oxool
reboot- Reboot and check if OxOOL Community edition starts normally
netstat -tlnpYou should get some results like this:
Active Internet connections (only servers)
Proto Recv-Q Send-Q Local Address           Foreign Address         State       PID/Program name
tcp        0      0 127.0.0.1:9981          0.0.0.0:*               LISTEN      22383/oxool
tcp6       0      0 :::9980                 :::*                    LISTEN      22383/oxool
Congratulations and enjoy!
P. S. When steps above are finished, you can use "More"→"Convert to template" to generate new LXC template that contains OxOOL Community edition.
Installation guide for OxOffice Online v4 Community on CentOS 7
Please download and install the latest version of CentOS 7 (we recommend using Minimal edition), when operating system installation is done, please follow steps to upgrade your system, install required packages and OxOffice Online v4 Community (we recommend executing these commands as normal user, remove sudo prefix if you are excuting them as root user).
sudo yum upgrade -y
sudo yum install vim net-tools unzip wget -y
cd /etc/yum.repos.d
sudo wget http://www.oxoffice.com.tw/rpm/el/oxool-community-v4-centos7.repo
sudo yum upgrade -y
sudo yum groupinstall "OxOOL Community Group" -y
Disable SELinux
sudo vim /etc/selinux/config # You can choose any preferred text editor to edit this file
# Search "SELinux=enforcing" line, and change "enforcing" to "disabled" or "permissive" then save and quit
Configure firewalld and open the default 9980 port
sudo firewall-cmd --zone=public --permanent --add-service=http
sudo firewall-cmd --zone=public --permanent --add-port=9980/tcp
sudo firewall-cmd --reload
Check if OxOOL Community edition starts normally
sudo netstat -tlnp
You should get some results like this:
tcp6 0 0 :::9980 :::* LISTEN 644/oxool
Installation guide for OxOffice Online v4 Community on Rocky Linux 8
Please download and install the latest version of Rocky Linux 8, when operating system installation is done, please follow steps to upgrade your system, install required packages and OxOffice Online v4 Community (we recommend executing these commands as normal user, remove sudo prefix if you are excuting them as root user).
sudo dnf config-manager --set-enabled powertools
sudo dnf upgrade -y
sudo dnf install epel-release -y
sudo dnf install vim net-tools unzip wget -y
cd /etc/yum.repos.d
sudo wget http://www.oxoffice.com.tw/rpm/el/oxool-community-v4-el8.repo
sudo dnf upgrade -y
sudo dnf groupinstall "OxOOL Community Group" -y
Disable SELinux
sudo vim /etc/selinux/config # You can choose any preferred text editor to edit this file
# Search "SELinux=enforcing" line, and change "enforcing" to "disabled" or "permissive" then save and quit
Configure firewalld and open the default 9980 port
sudo firewall-cmd --zone=public --permanent --add-service=http
sudo firewall-cmd --zone=public --permanent --add-port=9980/tcp
sudo firewall-cmd --reload
Check if OxOOL Community edition starts normally
sudo netstat -tlnp
You should get some results like this:
tcp6 0 0 :::9980 :::* LISTEN 644/oxool
Installation guide for OxOffice Online v4 Community on Ubuntu 20.04
Please download and install the latest version of Ubuntu 20.04, when operating system installation is done, please follow steps to upgrade your system, install required packages and OxOffice Online v4 Community.
sudo apt update
sudo apt upgrade -y
sudo apt install vim openssh-server net-tools curl -y
# Chooese yes if you get any service restarting prompts
curl http://www.oxoffice.com.tw/deb/OSSII.key | sudo apt-key add
cd /etc/apt/sources.list.d/
sudo wget http://www.oxoffice.com.tw/deb/oxool-community-v4-focal.list
sudo apt update
sudo apt install oxool -y
Start OxOOL Community edition service when booting
sudo systemctl enable oxool
sudo reboot
Check if OxOOL Community edition starts normally
sudo netstat -tlnp
You should get some results like this:
tcp6 0 0 :::9980 :::* LISTEN 644/oxool
Installation guide for OxOffice Online v4 Community on CentOS 7 in PVE LXC
Please download "centos-7-default" LXC template on your PVE first
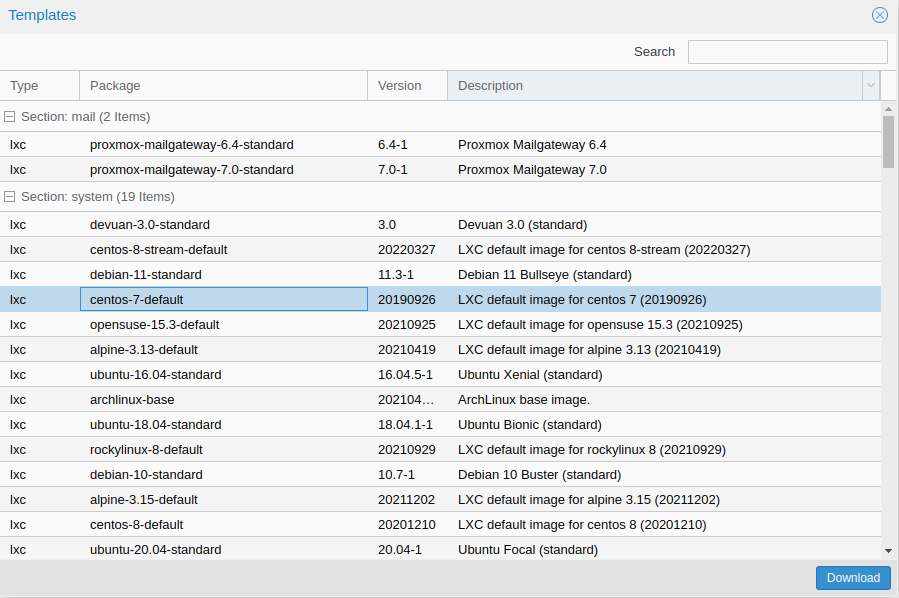
You can see CentOS 7 LXC template in "CT templates" section
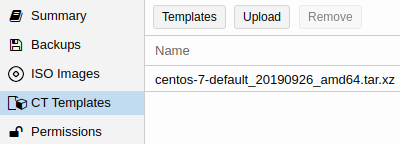
Create a new CT using "Create CT" button
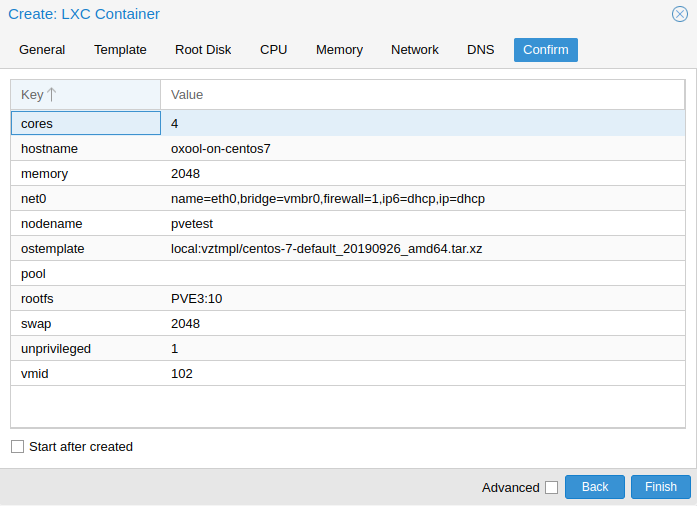
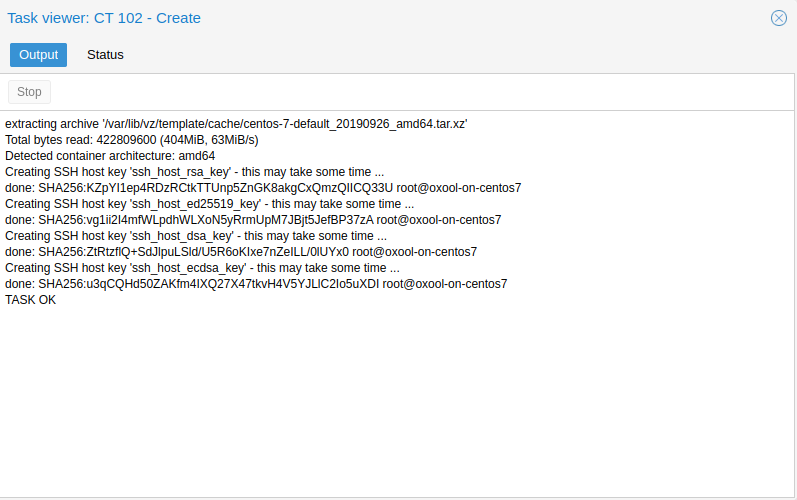
Start created CT, login as root and excute following commands to install needed programs and OxOOL Community edition:
yum install vim openssh* net-tools unzip wget -y
cd /etc/yum.repos.d
wget http://www.oxoffice.com.tw/rpm/el/oxool-community-v4-centos7.repo
yum upgrade -y
yum groupinstall "OxOOL Community Group" -y
Start OxOOL Community edition service when booting and reboot
systemctl enable oxoolwsd
reboot
Check if OxOOL Community edition starts normally
netstat -tlnp
You should get some results like this:
tcp6 0 0 :::9980 :::* LISTEN 644/oxool
P. S. When steps above are finished, you can use "More"→"Convert to template" to generate new LXC template that contains OxOOL Community edition.
Installation guide for OxOffice Online v4 Community on Rocky Linux 8 in PVE LXC
Please download "rocktlinux-8-default" LXC template on your PVE first
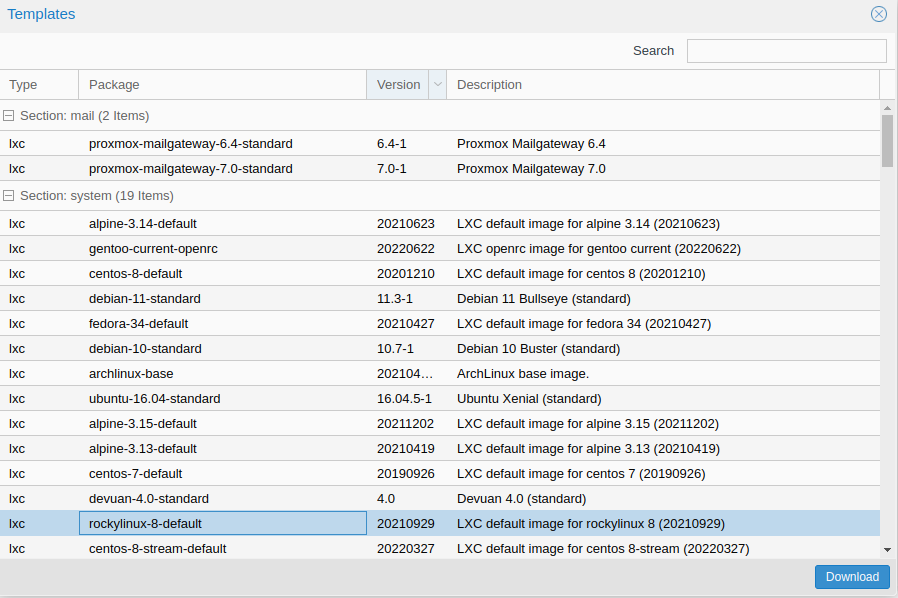
You can see Rocky Linux 8 LXC template in "CT templates" section

Create a new CT using "Create CT" button
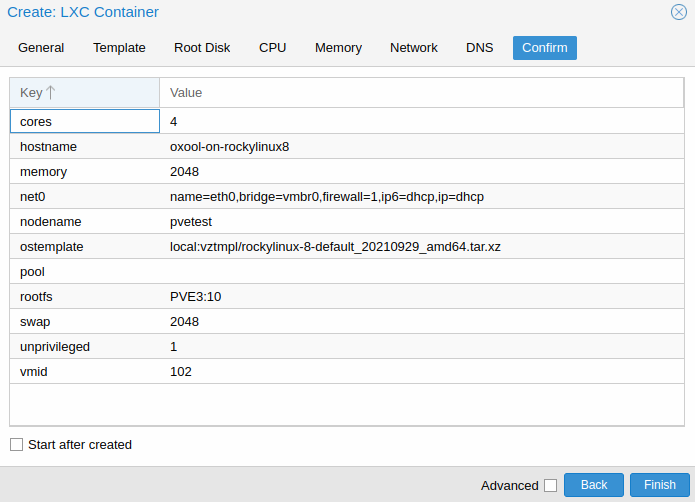
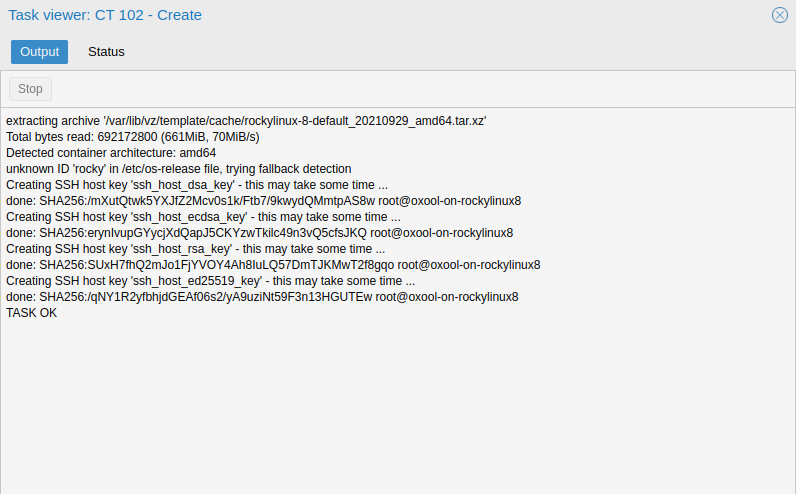
Start created CT, login as root and excute following commands to install needed programs and OxOOL Community edition:
dnf config-manager --set-enabled powertools
dnf install vim openssh* net-tools unzip wget -y
cd /etc/yum.repos.d
wget http://www.oxoffice.com.tw/rpm/el/oxool-community-v4-el8.repo
dnf upgrade -y
dnf groupinstall "OxOOL Community Group" -y
Start OxOOL Community edition service when booting and reboot
systemctl enable oxoolwsd
reboot
Check if OxOOL Community edition starts normally
netstat -tlnp
You should get some results like this:
tcp6 0 0 :::9980 :::* LISTEN 644/oxool
P. S. When steps above are finished, you can use "More"→"Convert to template" to generate new LXC template that contains OxOOL Community edition.
Installation guide for OxOffice Online v4 Community on Ubuntu 20.04 in PVE LXC
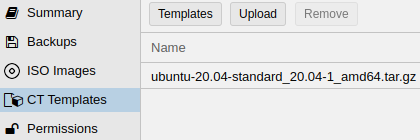
Please download "ubuntu-20.04-standard" LXC template on your PVE first
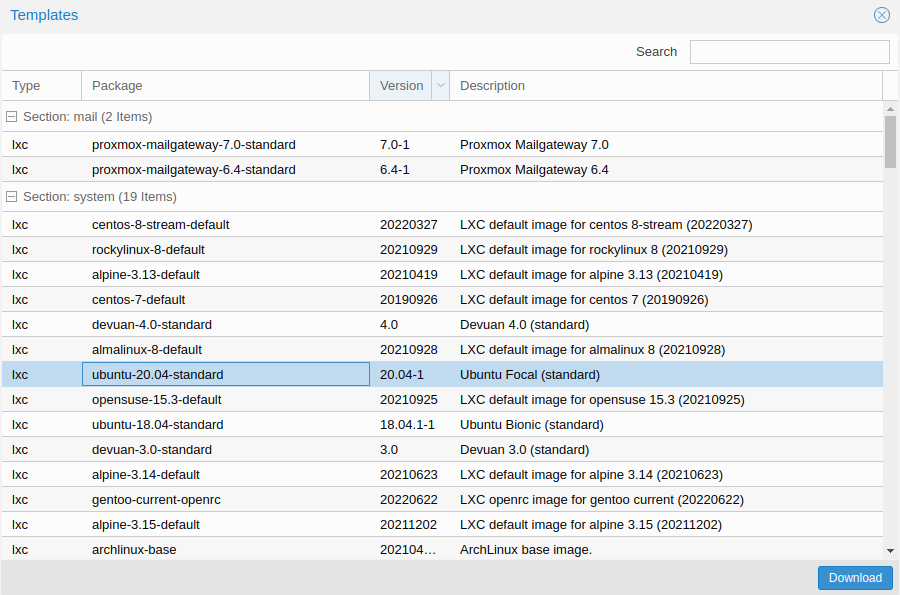
You can see Ubuntu 20.04 LXC template in "CT templates" section
Create a new CT using "Create CT" button
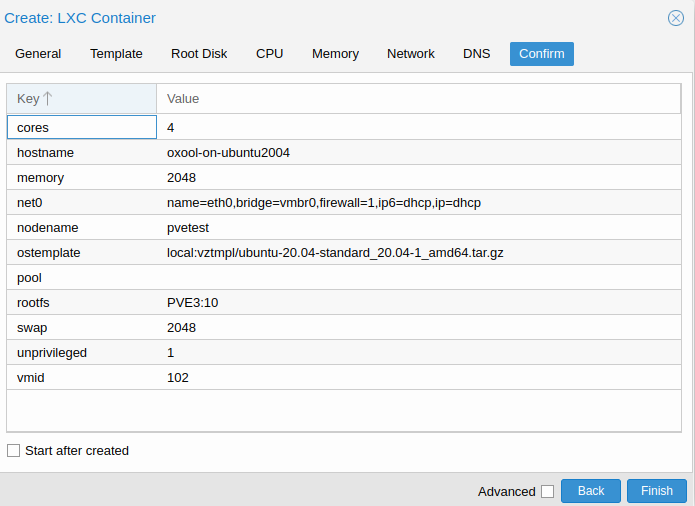
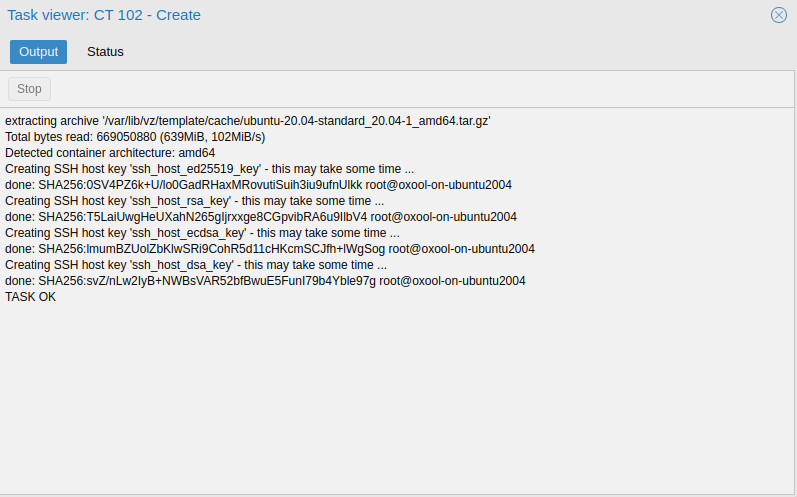
Start created CT, login as root and excute following commands to install needed programs and OxOOL Community edition:
apt update
apt upgrade -y
apt install vim openssh-server net-tools curl gnupg2 wget -y
# Chooese yes if you get any service restarting prompts
curl http://www.oxoffice.com.tw/deb/OSSII.key | sudo apt-key add
cd /etc/apt/sources.list.d/
wget http://www.oxoffice.com.tw/deb/oxool-community-v4-focal.list
apt update
apt install oxool -y
Start OxOOL Community edition service when booting and reboot
systemctl enable oxool
reboot
Check if OxOOL Community edition starts normally
netstat -tlnp
You should get some results like this:
tcp6 0 0 :::9980 :::* LISTEN 644/oxool
P. S. When steps above are finished, you can use "More"→"Convert to template" to generate new LXC template that contains OxOOL Community edition.
Installation guide for OxOffice Online v5 Community on Rocky Linux 8
Please download and install the latest version of Rocky Linux 8, when operating system installation is done, please follow steps to upgrade your system, install required packages and OxOffice Online v5 Community (we recommend executing these commands as normal user, remove sudo prefix if you are excuting them as root user).
sudo dnf config-manager --set-enabled powertools
sudo dnf upgrade -y
sudo dnf install epel-release -y
sudo dnf install vim net-tools unzip wget -y
sudo wget -P /etc/yum.repos.d http://www.oxoffice.com.tw/rpm/el/oxool-community-v5-el8.repo
sudo dnf upgrade -y
sudo dnf groupinstall "OxOOL Community Group" -y
Disable SELinux
sudo vim /etc/selinux/config # You can choose any preferred text editor to edit this file
# Search "SELinux=enforcing" line, and change "enforcing" to "disabled" or "permissive" then save and quit
Configure firewalld and open the default 9980 port
sudo firewall-cmd --zone=public --permanent --add-service=http
sudo firewall-cmd --zone=public --permanent --add-port=9980/tcp
sudo firewall-cmd --reload
Check if OxOOL Community edition starts normally
sudo netstat -tlnp
You should get some results like this:
tcp6 0 0 :::9980 :::* LISTEN 644/oxool
Installation guide for OxOffice Online v5 Community on Ubuntu 24.04
Please download and install the latest version of Ubuntu 24.04, when operating system installation is done, please follow steps to upgrade your system, install required packages and OxOffice Online v5 Community.
sudo apt update
sudo apt upgrade -y
sudo apt install vim openssh-server net-tools curl -y
# Chooese yes if you get any service restarting prompts
sudo curl -o /etc/apt/keyrings/OSSII.asc http://www.oxoffice.com.tw/deb/OSSII.key
sudo curl -o /etc/apt/sources.list.d/oxool-community-v5-noble.list http://www.oxoffice.com.tw/deb/oxool-community-v5-noble.list
sudo apt update
sudo apt install oxool -y
Start OxOOL Community edition service when booting
sudo systemctl enable oxool
sudo reboot
Check if OxOOL Community edition starts normally
sudo netstat -tlnp
You should get some results like this:
tcp6 0 0 :::9980 :::* LISTEN 644/oxool