# 安裝 phpMyAdmin 5.2 版本
##### **\[補充\] 一鍵安裝 phpMyAdmin 5.2 版本**
**指令如下:**
```shell
$ sudo dnf --enablerepo=remi install phpMyAdmin
```
會直接安裝最新的 5.2.0 版本,完成後可以跳到第 7 項繼續設定。
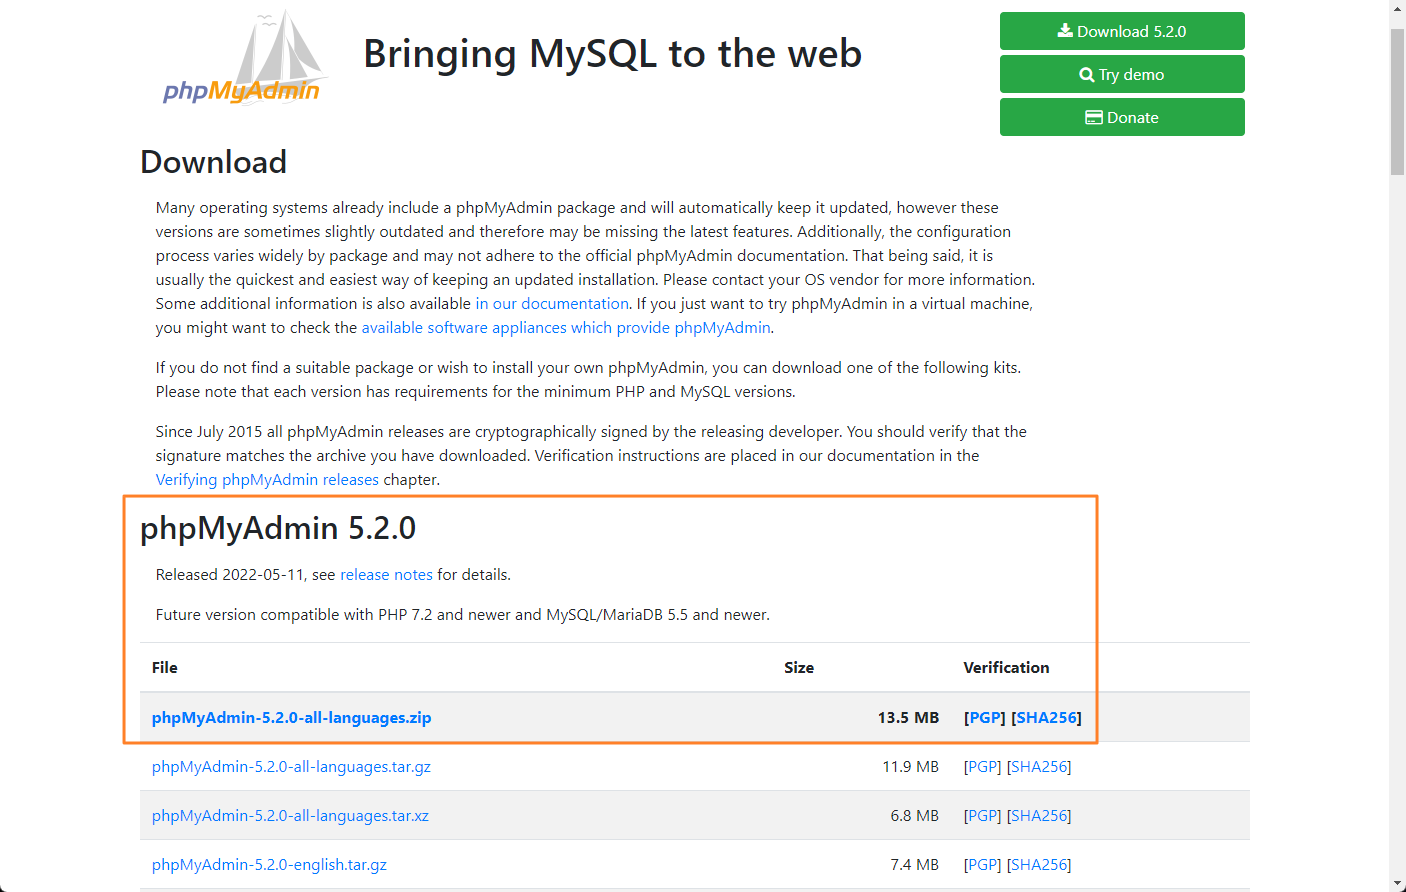
##### **1 確認官方最新的版本**
請先到 [phpMyAdmin 官方下載網站](https://www.phpmyadmin.net/downloads/)確認新的版本,本文所使用最新的版本為 [5.2.0 的 all-languages](https://files.phpmyadmin.net/phpMyAdmin/5.2.0/phpMyAdmin-5.2.0-all-languages.zip) 版本。
[](https://docs.ossii.com.tw/uploads/images/gallery/2022-06/image-1654050609682.png)
##### **2 設定環境變數並下載檔案**
確認好 phpMyAdmin 下載版本後,利用設定環境變數的方式,讓後面的指令操作比較簡單,利用一般用戶設定即可,指令如下:
```shell
$ export VER="5.2.0"
```
下載指令如下。
```shell
$ cd /tmp
$ curl -o phpMyAdmin-${VER}-all-languages.tar.gz https://files.phpmyadmin.net/phpMyAdmin/${VER}/phpMyAdmin-${VER}-all-languages.tar.gz
```
##### **3 解壓縮 phpMyAdmin**
```shell
$ tar zxvf phpMyAdmin-${VER}-all-languages.tar.gz
```
##### **4 將檔案置於正式目錄並移除壓縮檔**
```shell
$ rm phpMyAdmin-*-languages.tar.gz
$ sudo mv phpMyAdmin-* /usr/share/phpMyAdmin
```
**5 建立及設定 phpMyAdmin 相關目錄**
```shell
$ sudo mkdir -p /var/lib/phpmyadmin/tmp
$ sudo chown -R apache:apache /var/lib/phpmyadmin
```
##### **6 建立 phpMyAdmin 相關設定文件**
```shell
$ sudo cp /usr/share/phpMyAdmin/config.sample.inc.php /usr/share/phpMyAdmin/config.inc.php
```
如果是利用 dnf 指令安裝的話,可以跳過這個步驟。
##### **7 調整設定文件內容**
先用 openssl 產生一組隨機的 32 個字元長密碼,指令如下:
```shell
$ openssl rand -hex 16
```
把字串複製起來,並利用 vim 指令編輯設定文件的內容,指令如下:
```shell
$ sudo vim /usr/share/phpMyAdmin/config.inc.php
```
如果是利用 dnf 指令安裝的話,請到以下的路徑編輯設定檔:
```shell
$ sudo vim /etc/phpMyAdmin/config.inc.php
```
找到以下 2 項設定,第 1 個請把剛剛的字串給貼上去,大概在第 16 行,第 2 個請依照內容直接加在第 17 行位置,內容如下所示:
```shell
$cfg['blowfish_secret'] = '剛剛產生的 32 個字元的隨機字串';
$cfg['TempDir'] = '/var/lib/phpmyadmin/tmp';
```
如果是利用 dnf 指令安裝的話,內容如下:
```shell
$cfg['blowfish_secret'] = '剛剛產生的 32 個字元的隨機字串';
$cfg['TempDir'] = '/var/lib/phpMyAdmin/temp';
```
存檔後離開。
##### **8 設定 apache 的參數**
利用 vim 指令新增 apache 針對 phpMyAdmin 的設定檔(如果是 dnf 指令安裝的話,已經存在),指令如下:
```shell
$ sudo vim /etc/httpd/conf.d/phpMyAdmin.conf
```
接著新增(或改成)以下的內容:
```shell
# Apache configuration for phpMyAdmin
Alias /phpMyAdmin /usr/share/phpMyAdmin/
Alias /phpmyadmin /usr/share/phpMyAdmin/
AddDefaultCharset UTF-8
# Apache 2.4
Require all granted
Require all denied
Require all denied
Require all denied
Require all denied
```
存檔後離開,測試一下設定是否正確,指令如下:
```shell
$ sudo apachectl configtest
Syntax OK
```
重新啟動 apache 伺服器服務。
```shell
$ sudo systemctl restart httpd
```
##### **9 設定 SELinux**
如果有啟用 SELinux 安全模組的話(本文預設是 enforcing 模式),請設定允許 apache 在 phpmyadmin 的目錄中提供連結資訊,不然就會出現拒絕存取的畫面,設定指令如下:
```shell
$ sudo semanage fcontext -a -t httpd_sys_content_t "/usr/share/phpmyadmin(/.*)?"
如果出現沒有 semanage 找不到指令的訊息,請安裝 policycoreutils-python-utils 套件,指令如下:
$ sudo yum install policycoreutils-python-utils -y
$ sudo firewall-cmd --add-service=http --permanent
```
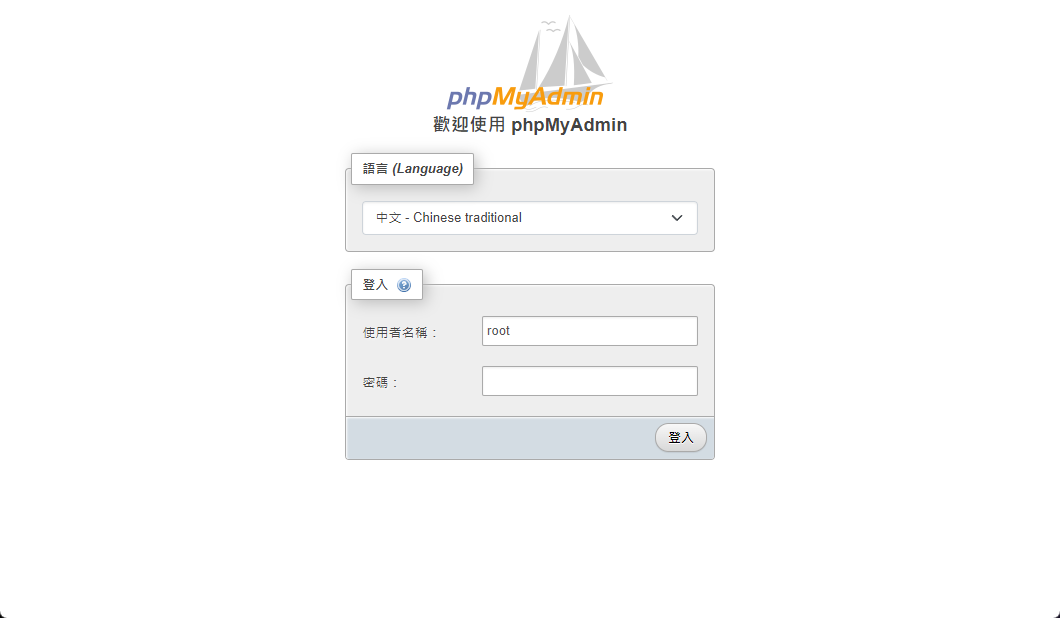
##### **10 登入 phpMyAdmin Web 界面**
登入的位置為:http://yourip/phpmyadmin,畫面如下:
[](https://docs.ossii.com.tw/uploads/images/gallery/2022-06/image-1654054375811.png)
請輸入剛剛設定的 MariaDB Root 密碼即可登入管理畫面,如下圖所示。
[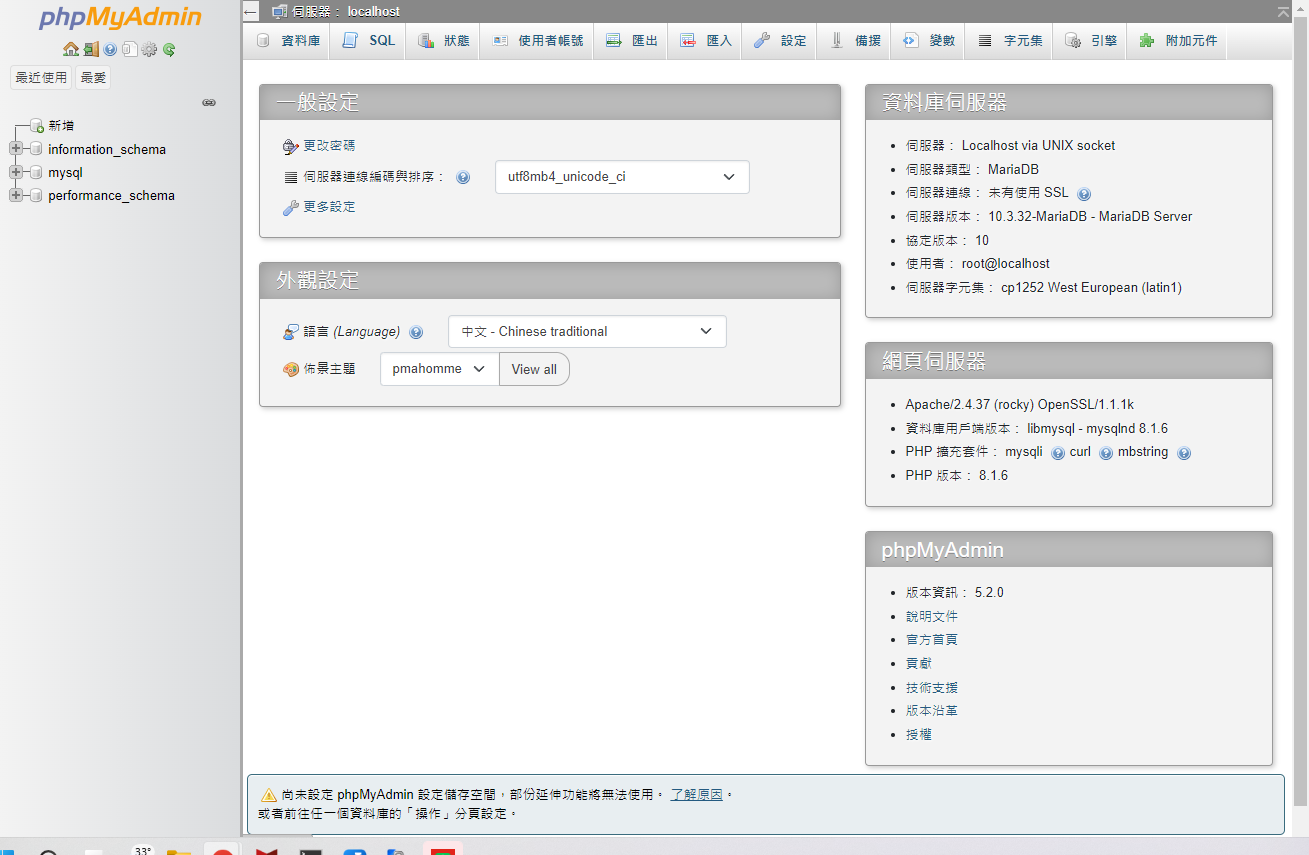](https://docs.ossii.com.tw/uploads/images/gallery/2022-06/image-1654054688478.png)
##### **11 建議設定**
因為 phpMyAdmin 管理工具不需要開放給一般人去使用,所以建議只需開放給特定 IP 來源編輯即可,利用修改 apache 的設定檔即可達到此目的,說明如下:
```shell
sudo vim /etc/httpd/conf.d/phpmyadmin.conf
```
修改裡面這行,把要開放的網路 IP 或是網路段寫進來即可。
> <IfModule mod\_authz\_core.c>
> # Apache 2.4
> **Require ip 10.0.0.5 192.168.0.0/24**
> </IfModule>
存檔後重新啟動 apache 伺服器。
```shell
$ sudo systemctl restart httpd
```
若是從非允許的 IP 位置連入,就會看到以下的畫面。
[](https://docs.ossii.com.tw/uploads/images/gallery/2022-06/image-1654055190246.png)