安裝 Apache + MariaDB + PHP(RockyLinux 9 及 Ubuntu Server 24.04)
在私有雲與檔案同步服務日益受到重視的今天,Nextcloud 成為眾多企業與機關首選的自建雲端平台方案,為了確保其穩定性與相容性,最常見的部署架構便是以 Apache 作為網頁伺服器、MariaDB 作為資料庫系統、PHP 作為應用執行環境的 LAMP 組合。
本文件將分別介紹如何在 RockyLinux 9 與 Ubuntu 24.04 上安裝與設定 Apache、MariaDB 與 PHP,為後續部署 Nextcloud 奠定穩固基礎。無論是初次接觸或欲重新部署的管理者,皆可依據本文件逐步完成基本環境建置。
安裝及設定 Apache 伺服器
- RockyLinux 9
安裝指令如下所示:
$ sudo yum install httpd mod_ssl一次連同 SSL 套件都安裝,結果如下:
Last metadata expiration check: 2:55:53 ago on Wed May 14 12:14:46 2025.
Dependencies resolved.
================================================================================================================================
 Package                           Architecture           Version                               Repository                 Size
================================================================================================================================
Installing:
 httpd                             x86_64                 2.4.62-1.el9_5.2                      appstream                  45 k
 mod_ssl                           x86_64                 1:2.4.62-1.el9_5.2                    appstream                 109 k
Installing dependencies:
 apr                               x86_64                 1.7.0-12.el9_3                        appstream                 122 k
 apr-util                          x86_64                 1.6.1-23.el9                          appstream                  94 k
 apr-util-bdb                      x86_64                 1.6.1-23.el9                          appstream                  12 k
 httpd-core                        x86_64                 2.4.62-1.el9_5.2                      appstream                 1.4 M
 httpd-filesystem                  noarch                 2.4.62-1.el9_5.2                      appstream                  12 k
 httpd-tools                       x86_64                 2.4.62-1.el9_5.2                      appstream                  79 k
 mailcap                           noarch                 2.1.49-5.el9                          baseos                     32 k
 rocky-logos-httpd                 noarch                 90.15-2.el9                           appstream                  24 k
 sscg                              x86_64                 3.0.0-7.el9                           appstream                  45 k
Installing weak dependencies:
 apr-util-openssl                  x86_64                 1.6.1-23.el9                          appstream                  14 k
 mod_http2                         x86_64                 2.0.26-2.el9_4.1                      appstream                 163 k
 mod_lua                           x86_64                 2.4.62-1.el9_5.2                      appstream                  59 k

Transaction Summary
================================================================================================================================
Install  14 Packages

Total download size: 2.2 M
Installed size: 6.5 M
Is this ok [y/N]:
請輸入 y 並按下 Enter 鍵進行安裝,安裝完成後,請設定預設開機啟動 Apache 伺服器及手動啟用服務。
$ sudo systemctl restart httpd
[ossii@nextcloud ~]$ sudo systemctl enable httpd
Created symlink /etc/systemd/system/multi-user.target.wants/httpd.service → /usr/lib/systemd/system/httpd.service.
利用 systemctl 指令查看一下相關服務的啟用情況。
$ sudo systemctl status httpd
● httpd.service - The Apache HTTP Server
     Loaded: loaded (/usr/lib/systemd/system/httpd.service; enabled; preset: disabled)
     Active: active (running) since Wed 2025-05-14 15:12:50 CST; 52s ago
       Docs: man:httpd.service(8)
   Main PID: 1410 (httpd)
     Status: "Total requests: 0; Idle/Busy workers 100/0;Requests/sec: 0; Bytes served/sec:   0 B/sec"
      Tasks: 177 (limit: 11112)
     Memory: 28.7M
        CPU: 92ms
     CGroup: /system.slice/httpd.service
             ├─1410 /usr/sbin/httpd -DFOREGROUND
             ├─1411 /usr/sbin/httpd -DFOREGROUND
             ├─1412 /usr/sbin/httpd -DFOREGROUND
             ├─1413 /usr/sbin/httpd -DFOREGROUND
             └─1414 /usr/sbin/httpd -DFOREGROUND

May 14 15:12:50 nextcloud.ossii.com.tw systemd[1]: Starting The Apache HTTP Server...
May 14 15:12:50 nextcloud.ossii.com.tw systemd[1]: Started The Apache HTTP Server.
May 14 15:12:50 nextcloud.ossii.com.tw httpd[1410]: Server configured, listening on: port 443, port 80
[ossii@nextcloud ~]$
利用瀏覽器測試一下 http 及 https 服務有沒有啟用。
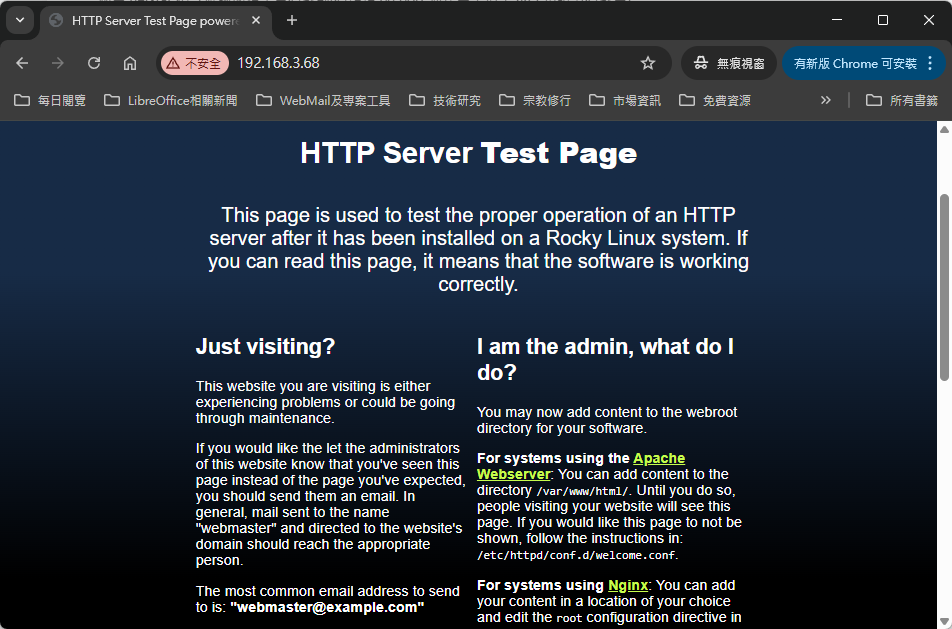
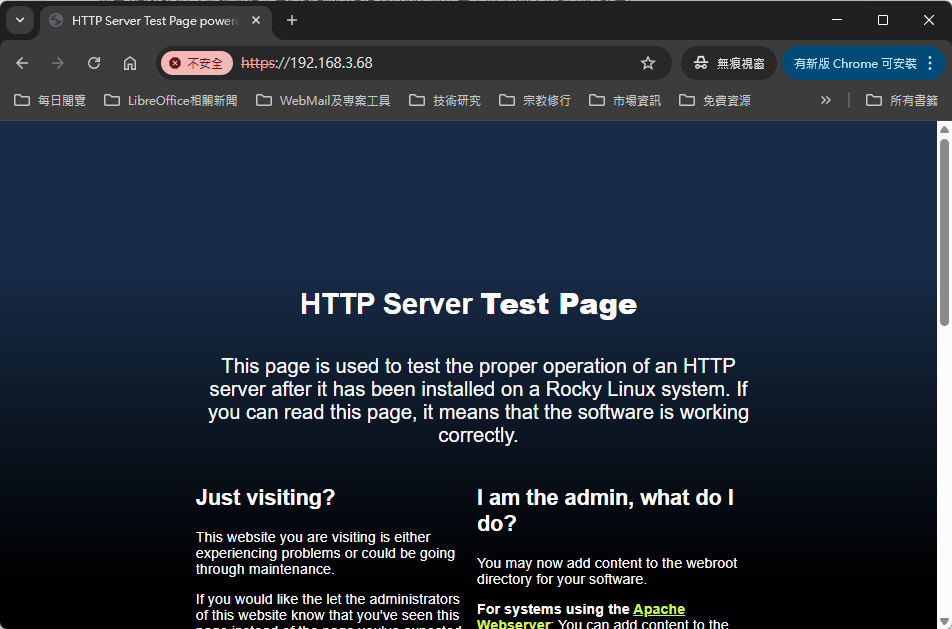
這樣子就完成了 apache server (RockyLinux 9)的初步安裝作業了~
- Ubuntu Server 24.04
安裝指令如下所示:
$ sudo apt -y install apache2 apache2-utils接下來會出現一大堆訊息,包含安裝及啟用各式預設的模組功能,如下所示:
Reading package lists... Done
Building dependency tree... Done
Reading state information... Done
The following additional packages will be installed:
  apache2-bin apache2-data libapr1t64 libaprutil1-dbd-sqlite3 libaprutil1-ldap libaprutil1t64 liblua5.4-0 ssl-cert
Suggested packages:
  apache2-doc apache2-suexec-pristine | apache2-suexec-custom www-browser
The following NEW packages will be installed:
  apache2 apache2-bin apache2-data apache2-utils libapr1t64 libaprutil1-dbd-sqlite3 libaprutil1-ldap libaprutil1t64
  liblua5.4-0 ssl-cert
0 upgraded, 10 newly installed, 0 to remove and 1 not upgraded.
Need to get 2,084 kB of archives.
After this operation, 8,094 kB of additional disk space will be used.
Do you want to continue? [Y/n]
請輸入 Y 並按下 Enter 鍵進行安裝,安裝完成後,預設就會設定開機啟動 Apache 伺服器及手動啟用服務。
接下來先啟用 Apache 的 SSL 模組,特別先提醒一下,和 RedHat / CentOS 系列的 apahce 管理不大一樣,在 RedHat / CentOS 平台中要啟用特定的模組,只要安裝好對應的模組套件,再重新啟用 httpd 服務即可,但是在 Ubuntu Server 中,除了要安裝對應的模組套件外,要額外使用 a2emod 指令來指用模組,並重新啟用 apache 服務才可啟用,不然會發生明明就裝了模組但是一定沒有啟用對應功能的情況,這部份後續會再介紹其使用方式。
$ sudo a2enmod ssl
Considering dependency mime for ssl:
Module mime already enabled
Considering dependency socache_shmcb for ssl:
Enabling module socache_shmcb.
Enabling module ssl.
See /usr/share/doc/apache2/README.Debian.gz on how to configure SSL and create self-signed certificates.
To activate the new configuration, you need to run:
  systemctl restart apache2
要手動啟用 SSL 的網站:
$ sudo a2ensite default-ssl.conf然後再手動重啟 Aapche 的服務。
$ sudo systemctl restart apache2先利用 netstat 指令確認服務是否有啟動(有發現 80 及 443 port 都已運作中)。
$ sudo netstat -tlnp
Active Internet connections (only servers)
Proto Recv-Q Send-Q Local Address           Foreign Address         State       PID/Program name
tcp        0      0 127.0.0.54:53           0.0.0.0:*               LISTEN      565/systemd-resolve
tcp        0      0 127.0.0.53:53           0.0.0.0:*               LISTEN      565/systemd-resolve
tcp        0      0 127.0.0.1:6010          0.0.0.0:*               LISTEN      1005/sshd: ossii@pt
tcp6       0      0 ::1:6010                :::*                    LISTEN      1005/sshd: ossii@pt
tcp6       0      0 :::443                  :::*                    LISTEN      1994/apache2
tcp6       0      0 :::22                   :::*                    LISTEN      1/init
tcp6       0      0 :::80                   :::*                    LISTEN      1994/apache2
利用 systemctl 指令查看一下相關服務的啟用情況。
$ sudo systemctl status apache2
● apache2.service - The Apache HTTP Server
Loaded: loaded (/usr/lib/systemd/system/apache2.service; enabled; preset: enabled)
Active: active (running) since Wed 2025-05-14 15:18:33 CST; 6min ago
Docs: https://httpd.apache.org/docs/2.4/
Main PID: 1669 (apache2)
Tasks: 55 (limit: 2271)
Memory: 5.2M (peak: 5.4M)
CPU: 45ms
CGroup: /system.slice/apache2.service
├─1669 /usr/sbin/apache2 -k start
├─1671 /usr/sbin/apache2 -k start
└─1672 /usr/sbin/apache2 -k start
May 14 15:18:33 ubuntu-nextcloud systemd[1]: Starting apache2.service - The Apache HTTP Server...
May 14 15:18:33 ubuntu-nextcloud apachectl[1668]: AH00558: apache2: Could not reliably determine the server's fully qualified d>
May 14 15:18:33 ubuntu-nextcloud systemd[1]: Started apache2.service - The Apache HTTP Server.
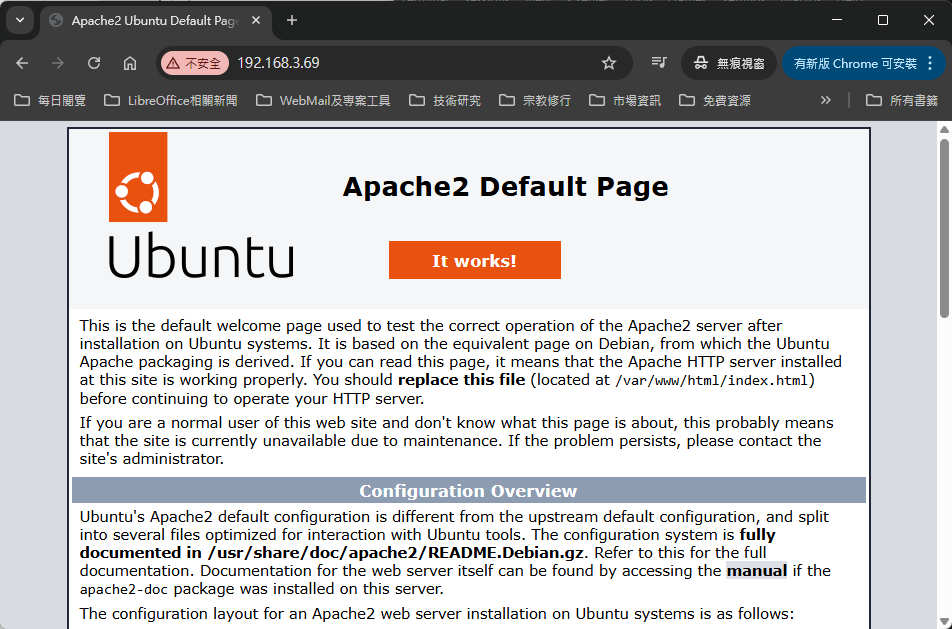
lines 1-16/16 (END)利用瀏覽器測試一下 http 及 https 服務有沒有啟用。

安裝 PHP 8.2 版
- RockyLinux 9
因為 PHP 8.1 版預設沒有在預設的套件庫中,需要先安裝 EPEL 8 及 remi 套件庫才可以安裝升級版的 PHP,安裝 epel-release 套件指令如下所示:
- Ubuntu Server 24.04
要安裝新版的 PHP 8 需要加入 Ondřej Surý (PHP 和 Debian 的首席開發人員,並維護 Ubuntu 和 Debian 套件) PHP PPA 的來源,指令如下:
基本升級
請先一次性針對整體系統進行套綿升級工作,在 RockyLinux 下我們會使用 yum 或是 dnf 的指令進行套件安裝或是升級工作,請搭配 sudo 指令進行系統更新作業。
基本升級
請先一次性針對整體系統進行套綿升級工作,在 RockyLinux 下我們會使用 yum 或是 dnf 的指令進行套件安裝或是升級工作,請搭配 sudo 指令進行系統更新作業。